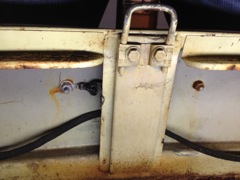
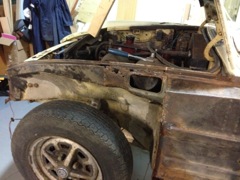
IMG_1141
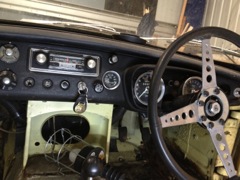
Dashboard layout - middle
|
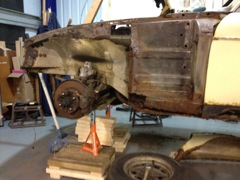
IMG_1143
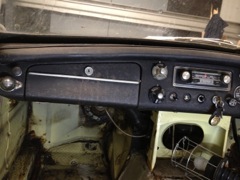
Dashboard layout left
|
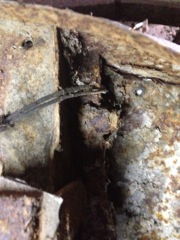
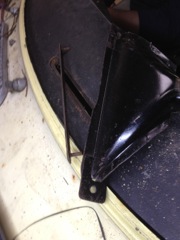
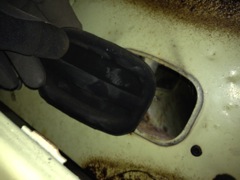
IMG_1144
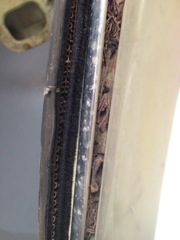
Rear window surrounds - it just pulls off, as it's contains mettal clippy things that secure it to the window frame.
|
|
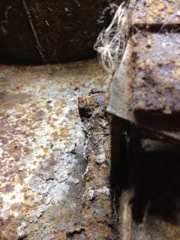
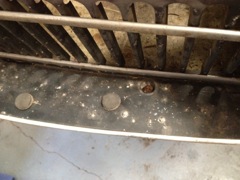
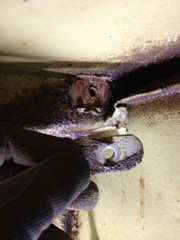
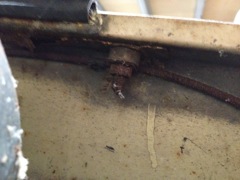
IMG_1145
These are the metal clips inside the window surround (rusty) that keep the rubber attached.
Also all the bits of tree that we haven't cleanout out of the guttering yet.
|
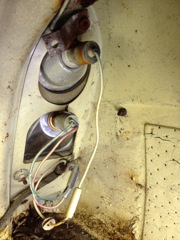
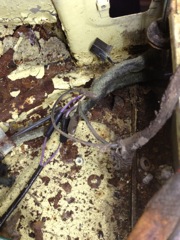
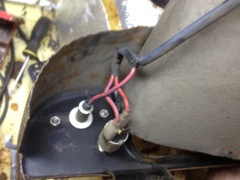
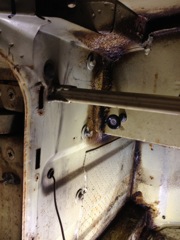
IMG_1146
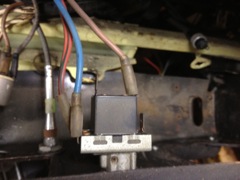
Rear light wiring. There's a cable connected to the top of the light unit going upwards.
|
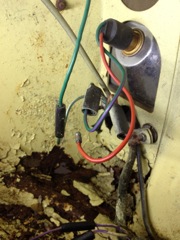
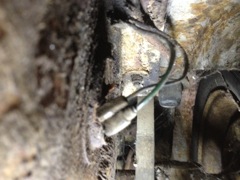
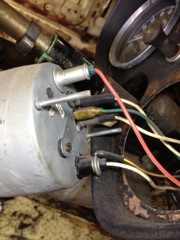
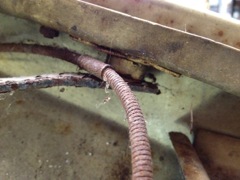
IMG_1147
Cables are colour coded.
|
|
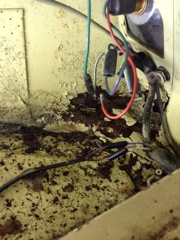
IMG_1149
Drivers side rear lights
|
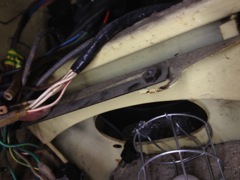
IMG_1150
The wireing loom runs down the right hand side of the car, so there are other connections here too
|
IMG_1151
Rear lights removed.
|
|
IMG_1154
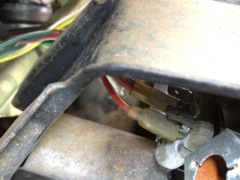
These cables are attached to the number plate bolt
|
IMG_1156
|
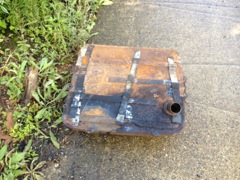
IMG_1157
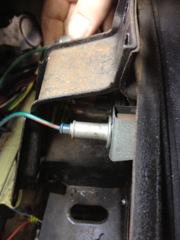
Fuel tank sender connection
|
|
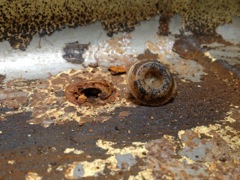
IMG_1158
Fuel tanks supporting bolt - there are some bults from the top throught the boot floor and some from the bottom into the boot floor.
|
IMG_1159
|
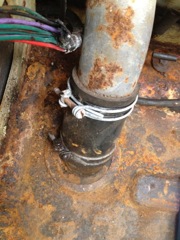
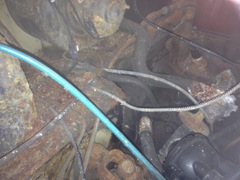
IMG_1160
Wires go down the right side of the car
|
|
IMG_1161
Fuel filler
|
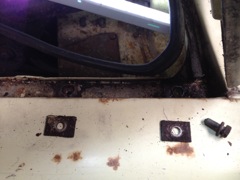
IMG_1162
The boot floor had some rubber grommets covering holes
|
IMG_1163
Fuel tank removed!
|
|
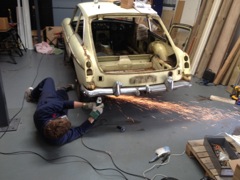
IMG_1164
Removing the tow bar. Sparks
|
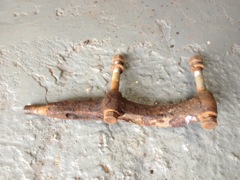
IMG_1167
We had to cut a section of the tow bar bracket off to get access to the (very) rusty nuts holding the rear bumper on. Sparks
|
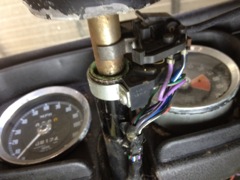
IMG_1168
Steering column switch gear clamped on. Notice the second clip that servs as the auto-off function for the indicators
|
|
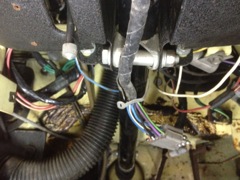
IMG_1169
Steering column cables were failry easy to just unplug
|
IMG_1170
back of the revometer
|
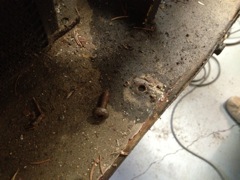
IMG_1171
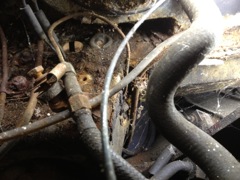
the rusty nut in the center of this image is in the engine bay holding down the temperature sensor and oil pressure lines.
|
|
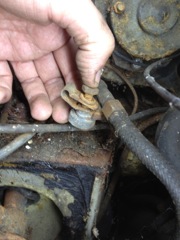
IMG_1172
temperature sensor an other cable screwed the inside of the bulk head
|
IMG_1173
Oil presure and water temp guage
|
IMG_1174
This clip had a clip and a brackets and a washer and a but and a bolt and another washer etcetc
|
|
IMG_1175
It goes together like this
|
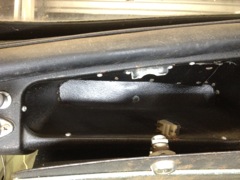
IMG_1176
Carboard glove box is heald in with various screws. The one at the very back came out last and only just before the dash was removed.
|
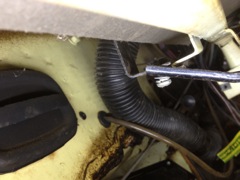
IMG_1177
This bracket arrangement supports the back of the glovebox
|
|
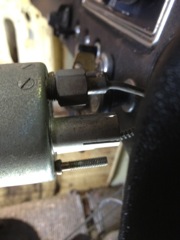
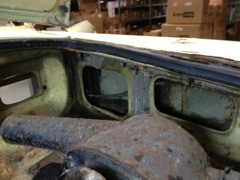
IMG_1178
Head light switch - I think
|
IMG_1179
|
IMG_1180
|
|
IMG_1181
This rubber grommet on the passenger side is where the choke cable goes through
|
IMG_1182
I thin kthis is the back of the map reading light on the passenger side.
|
IMG_1184
Black bracket that goes across the center of the dash underneath.
|
|
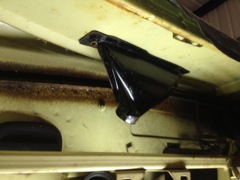
IMG_1185
Finally we got the rear bumper support brackets off
|
IMG_1186
Air vent for blowing air at the screen
|
IMG_1187
… with a metal brackets clamping it in place over the vinyl of the top dash
|
|
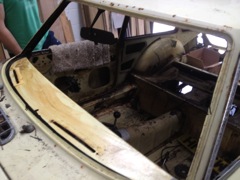
IMG_1188
Windscreen out - quite easy as long as you follow the instructions in the restoration guide.
|
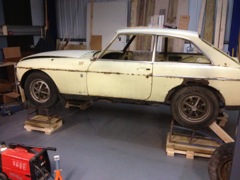
IMG_1196
Precarious? Safe? time will tell!
|
IMG_1199
We cut the headlight wire to remove it as all the grammets were pretty well jammed.
|
|
IMG_1200
Rubber grommets covered the screws supporting the bottom of the grill
|
IMG_1201
There are the screws from the bottom of the grill- some were easy to remove - others were not.
|
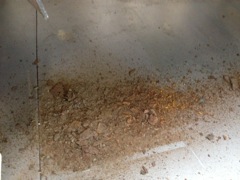
IMG_1211
Shower of rust
|
|
IMG_1213
How much rust / mud can fall out of the front wings?
|
IMG_1214
Big grommet in the passenger footwell.
|
IMG_1215
This is the 'washer' that goes in the passenger foot well for the bolt holding the wing on.
|
|
IMG_1216
There are 4 bolts virtical here holding the wing on. The are also 2 larger bolts at the top. The restoration manual says there are 3, only 2 though.
|
IMG_1217
The bonnet release cable is bolted on to the wing bolts. in 3 places. this is the front one with the radiator support bracket too.
|
IMG_1218
More bonnet release cable clips
|
|
IMG_1219
The bonnet release cable is routed down the side of the wing, and through the bulkhead. The cable had to be removed from the sheath to remove the whole thing, as the 'B' handle is permenantly attached to the cable.
|
IMG_1220
These sqare washers were for the two wing bolts closest to the windscreen - the others just had regular round washers.
|
IMG_1221
This bracket seems to provide extra support for the bonnet when it's closed. It was attached with a couple of screws with nuts on the other side. They had to be angle-ground off.
|
|
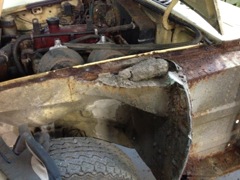
IMG_1222
How much mud and rust can you balance, can you balance on the 'trumpet'
|
IMG_1223
Wing removed!
|
IMG_1224
Today, we're going to clean up the inner wing a bit...
|
|
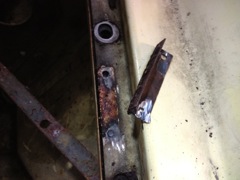
IMG_1225
This is the splash panel. It was bolted on. All the bults except one sheared off dispite a good soaking in Plus gas
|
IMG_1226
Ta da! - much better - this was also my first effort at removing spot welds (holding the trumpet section on at the top of the inner wing. Now we can really see how many holes there are to patch up later
|
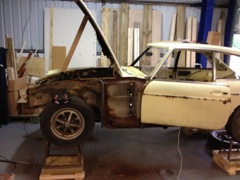
IMG_1227
Now we've got the car on axle stands we can take the front wheels off. Yes I really did use that many bits of wood with the jack to lift it high enough.
|
|